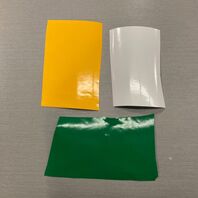
Sketch of Design

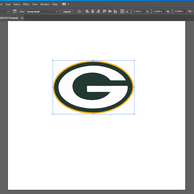
Digital File of Design
Decal Creation
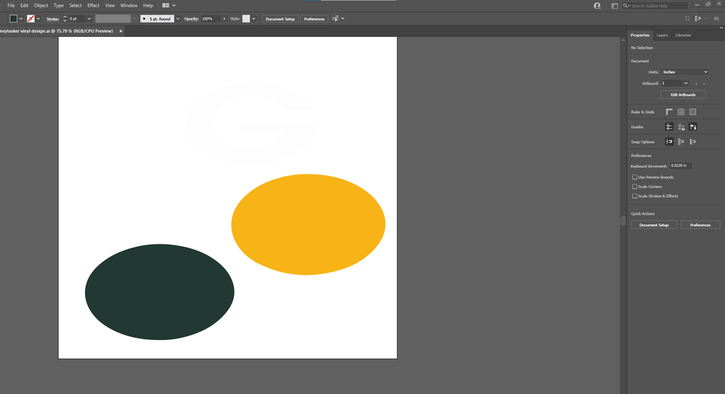
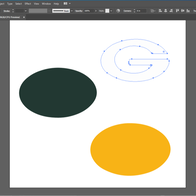
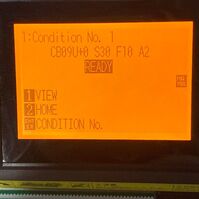
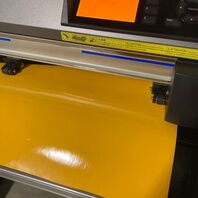
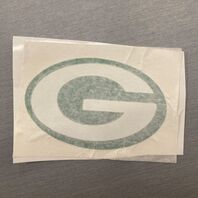
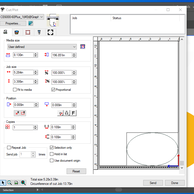
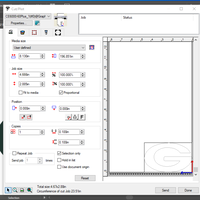
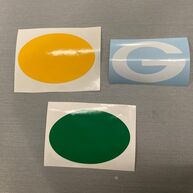
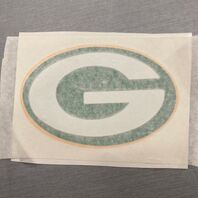
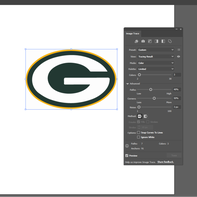
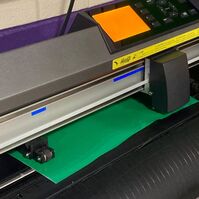
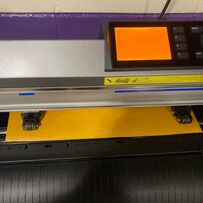
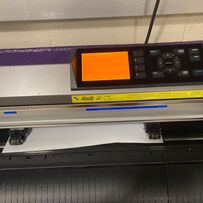
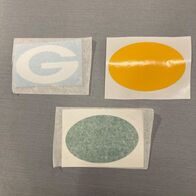
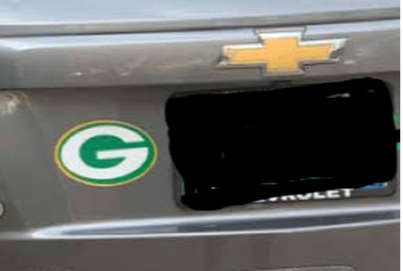
I made my decal for my Aunt and she loves Green Bay so I made their logo for her to put on her car. I pasted a photo of the Green Bay logo into Illustrator. Once it was in Illustrator, I clicked on image trace, clicked on 3 colours (as I am using 3 colours). Next I clicked on expand, went to the controls and went into the advanced settings to mess with some of the controls to make it more rounded and clear. I expanded the image so the changes were made and the lines were all turned into vectors, so my image could be cut out on the vinyl cutter. I right clicked on my image and press the ungroup button, so all the colours in the image would separate, so I could print the different colours. I pressed delete twice for each shape from the image so it would fill in its shape with its colour. Next was to print on the vinyl cutter. I saved my document to my USB, plugged it into the vinyl computer, opened my document in Illustrator, and chose the colours from the vinyl rolls. I selected each shape individually to print out, I clicked file, cutting master 4, lined up my image so I wouldn't waste vinyl, then printed each shape. I used a dental tool to "weed" the backgrounds off the decal so all the shapes were by themselves for transfer. After that, I put the "G" onto the green oval, then the "G" and green oval onto the yellow oval using transfer tape. I sent the decal to my aunt and she put it on her car.

|

|
|
Final Creation
Summary
In this rotation, I learnt how to use the vinyl cutter independently, as I have never actually used it by myself. The first demonstration was done by the teacher so I didn't physically use the machine and the instructions on how to use the machine were not really clear in my mind. I learnt how to use the vinyl cutter and taught others how to use it as well. I also learnt how to put decals together to create one decal, and that it can be a tricky process. Overall I enjoyed this rotation and I think it was my favourite one, I really liked making my decal and using new Illustrator tools.
