Research and Designs

|
|

|
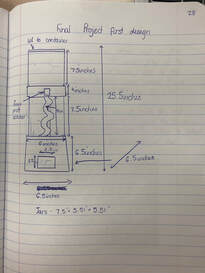
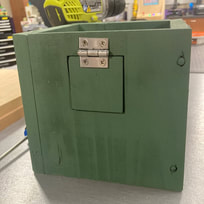
The first picture was my presearch, and on top of this page of research, I watched videos that showed how the mechanics of a gumball machine, this way I was able to see the inside and come up with a design that would match a real gumball machine, and somehow substitute a finger print scanner for the coin slot. The first design is my original design, it's designed to have two main sections, one where the gumball would be dispensed, on where the fingerprint scanner would be put in place and where all the coding parts would go. The third photo is a redesign I did later on, but I stuck with the original design.
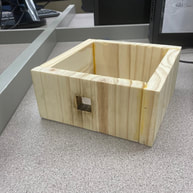
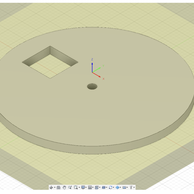
Base
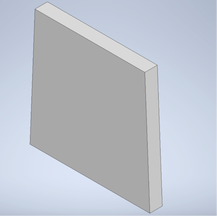
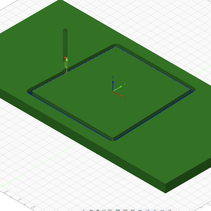
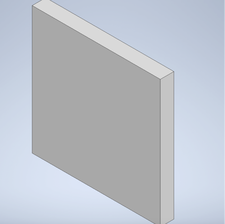
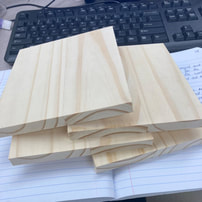
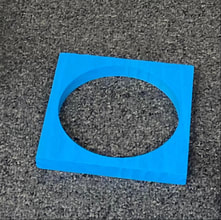
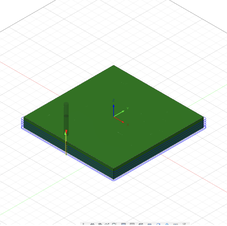
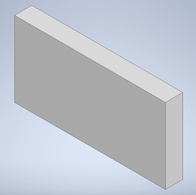
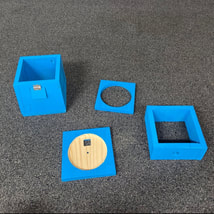
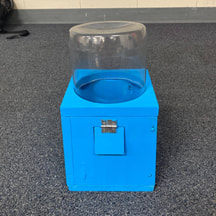
The base is made from four wooden pieces I cut out from the router, it includes a floor but it is basically the shape of cube with no top. The sides were slightly slanted upwards to give it a little more of a unique shape. I created the shapes for the wooden pieces of the base on Inventor and created fusion files so I could cut them out on the router. I created a file on Illustrator so I could use the laser to cut out a square, which would become the door for the slot of the machine. This base piece is where the gumball will be dispensed out of so I used the laser cutter to cut out a square which I saved for the slot cover. The base is held together with wood glue, and then I have drilled holes into it so I could put dowels in to make it more sturdy. I used a small door hinge to make it swing in and out, then I painted all of the wood. I decided I didn't like the color I had chosen so I did later on get a new one. To cover the corners of the top, I created another piece that would enclose them, and it gives the base a nice finish too. The middle plastic container will be coming out of the top, so I needed something that would fill in around the top.

|
|
|
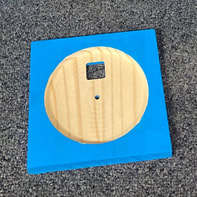
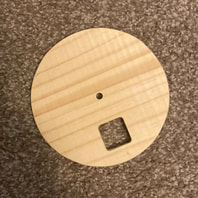
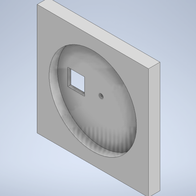
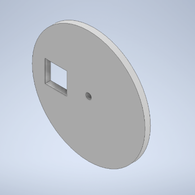
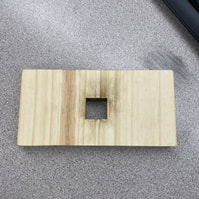
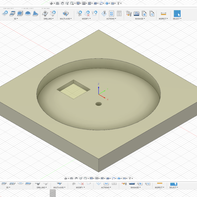
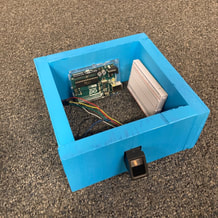
Middle Section
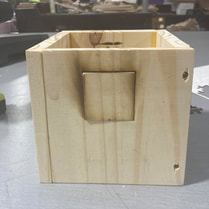
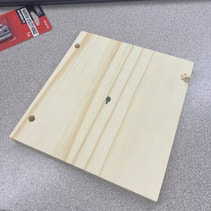
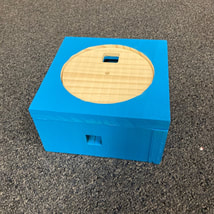
The middle section of machine is where all of the Arduino and the fingerprint scanner will be, so once again the section is made out of wood, which I have cut from the router. Once again, I created the shape on Inventor and made the Fusion files so I could use the router, and I adjusted the square on the Illustrator file so I could use it again to cut out a square on with the laser, for where the fingerprint scanner will go. This time, I only held the middle section together with wood glue, because due to the way the design is, this section doesn't look as centered and I didn't want the dowels to make it look even more messy. There is also a "lid" to the middle section, this is where the gear will sit, and there is a hole that will line up with a hole in the gear so that the gumball will fall out. The gear is also made out of wood, all pieces for this middle section were created in Inventor, made into Fusion files, and cut out on the router. There is a hole in the center of both the gear and the top of the middle section so a small rod can run up the middle, this has to do with the mechanics of the machine.
|
|
|
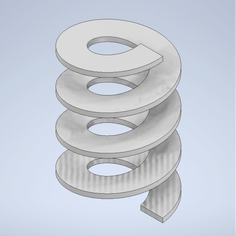
Inside and Mechanics
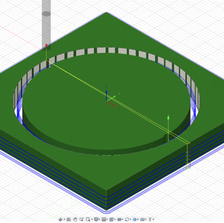
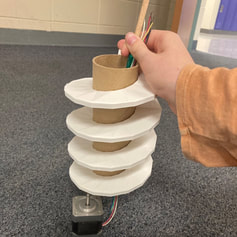
To go inside the middle container, I made a spiral that is for the gumball to travel down to the slot in the base. I printed it out on the 3D printers, and it was a shape I had never made before so I had to look up instructions of how to make a coil and worked from there. The 3D printer is my third machine, but I am still going to use Arduino because that is how I am getting my machine to move. In the middle of the spiral, I am using a hollow cardboard tube from a roll of vinyl as 1. a wall for the inside of the spiral, and 2. a way to hide the wires from the motor that will go up through the tube to connect to the fingerprint scanner, Arduino UNO, and the breadboard. The motor will be connected to a straw that will connect to the rod to add the length needed so the motor can reach the gear. When the fingerprint scanner is activated, the motor will turn, which will turn the rod, and that rod will turn the gear, dispensing the gumball. The Arduino UNO and the breadboard will be attached to the inside of the middle section on the inner walls.
|
|
|
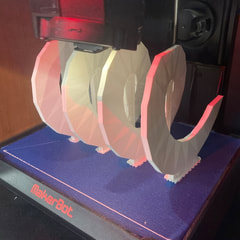
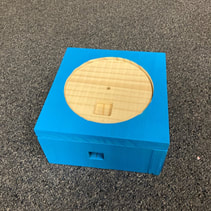
Assembly
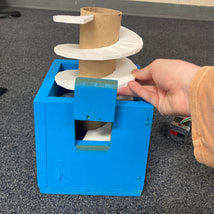
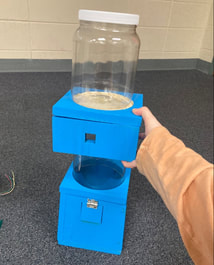
Unfortunately, I didn't finish my project, but I have all the components and I know how the assembly would be. The containers weren't fully cut but everything else was ready for assembly. All of the parts are painted, and they are individually stacked on each other to show how it would all be assembled. I didn't get a chance to really experiment with the coding, so all of the hardware isn't in the middle section.
|
|

|
Summary
During this semester, I learned a lot about managing a project and how it should not be done vs how it should be done. I think I started my project too late, I did miss some classes at the beginning of the Semester due to being out because of Covid, and this slowed the progress in class, but I could've come in for some contact times earlier on. I think overall I should've planned ahead a little better. I did enjoy improving my skills on Fusion, the router, and the vinyl cutter. I used different settings and repetitively used the router so now I'm very confident when it comes to using the router. I learned patience and problem solving when I had issues with my project or for materials I was going to use. I learned how to create unique designs, make things I never had before, and learned it's okay to think your design over and try again. I learned that during the redesign project, and during my final project because I wanted to make the design a little simpler, but I decided to stay with the original design. Even though I didn't finish my final project, I think I made good progress on it, and I actually hope to work on it over the summer and see if I can get it to work.
