Digital Files
|
Digital File for Inventor
|
Digital File for Fusion360
|
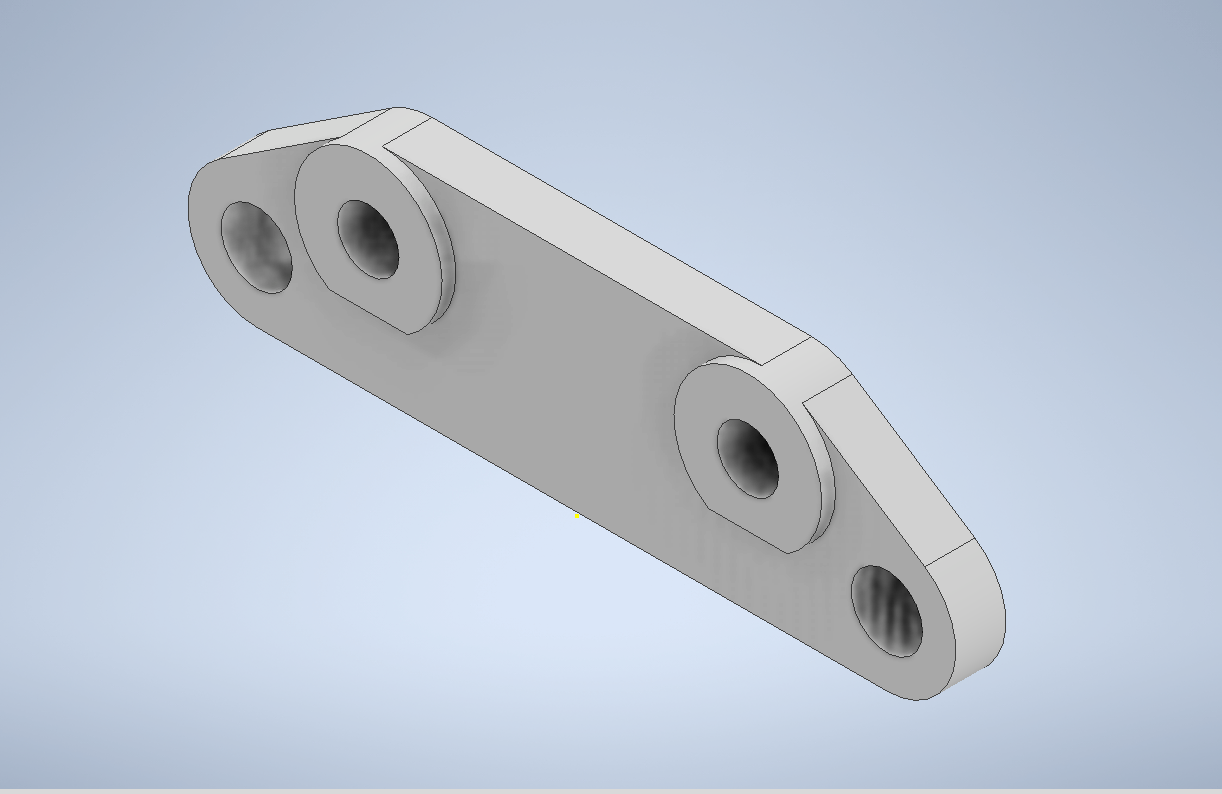
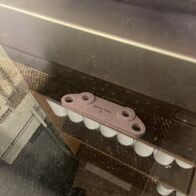
Brake Bracket Creation
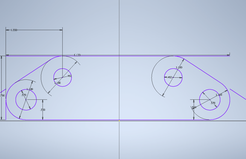
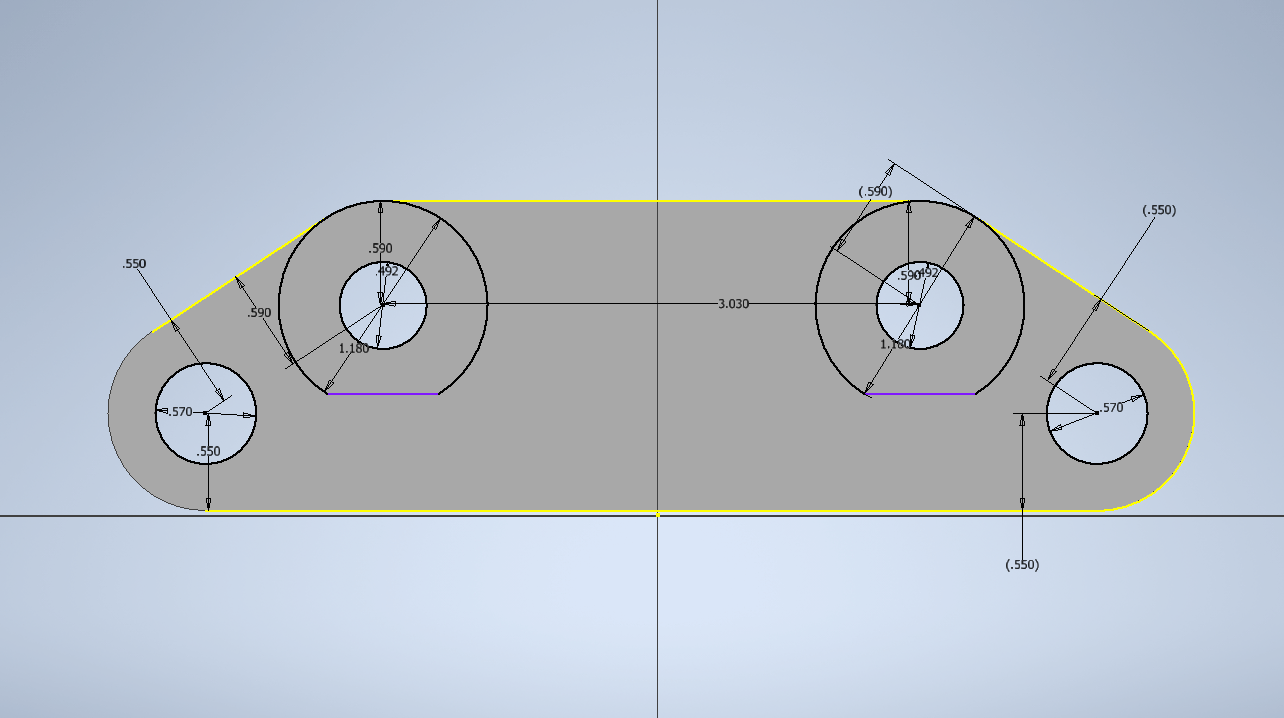
1. Draw a rectangle and dimension it to the correct size
2. Draw four circles in the rectangle, dimension and position them correctly
3. Inside the bigger circles, dimension the smaller circles, these are the ones that will be cut out when it's extruded
3. Draw two lines diagonally so the lines go across the side of the bigger circles, this creates the trapezoid shape
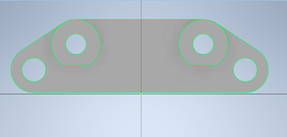
4. Use the trim tool and trim all the extra parts of the lines you don't need to end up with the shape for the brake bracket (for my brake bracket I had to trim parts of the bigger circles so the correct part of the shape would be extruded)
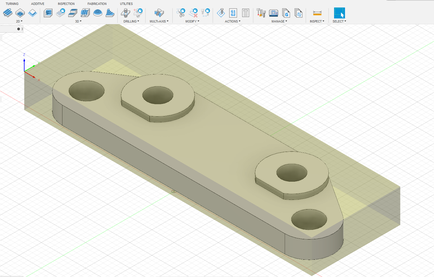
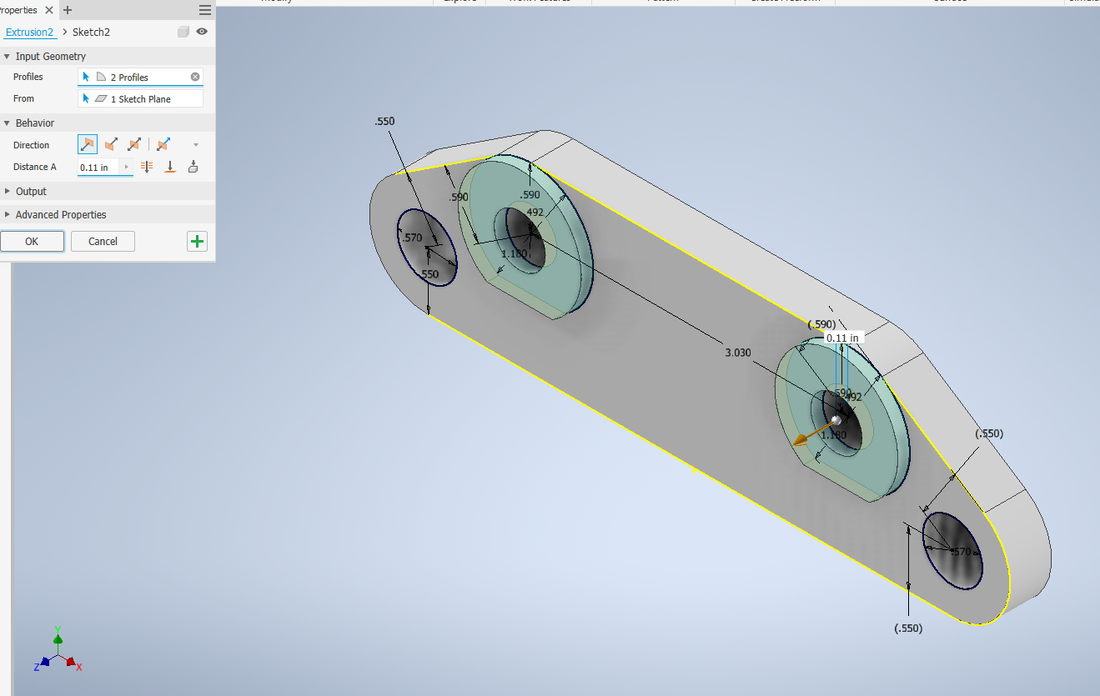
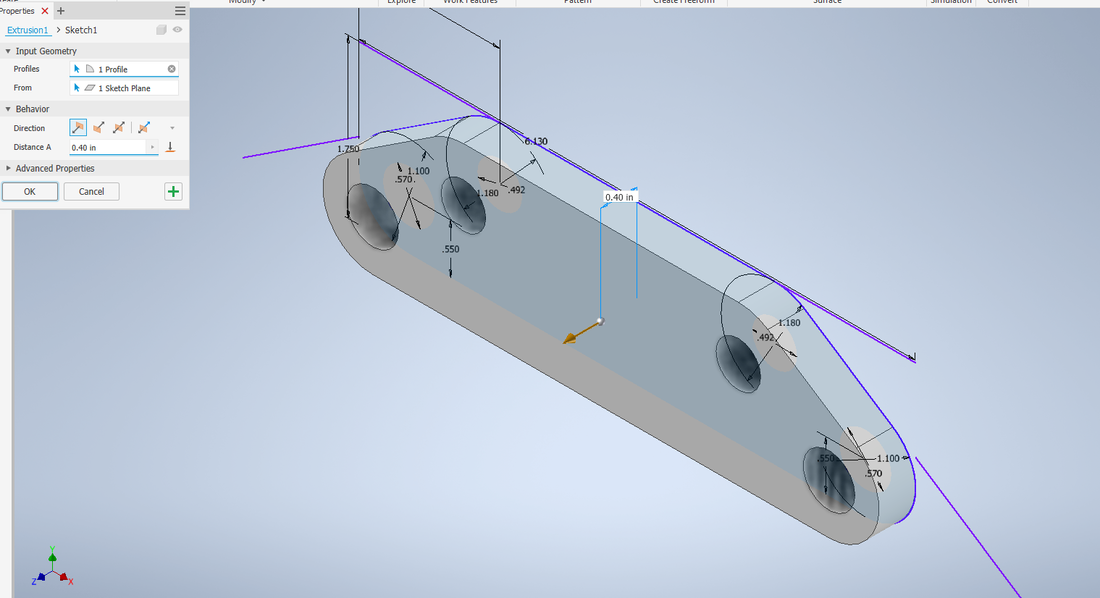
5. Extrude the shape
6. Create a new sketch and draw two circles around the two top circles, set them to the right dimensions
7. Draw a line across the two circles and dimension it so it is in the correct spot
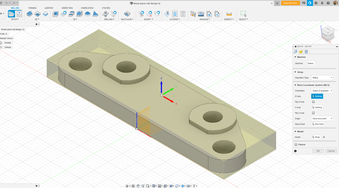
8. Extrude the two new circles
9. Upload file to Fusion360
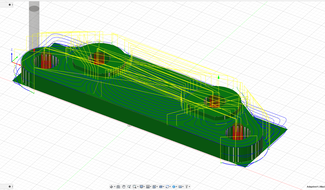
10. Choose 3D tool path
11. Input height, width and thickness
12. Choose the tool you're going to use
13. Input the speed of the tool
14. Adjust the rough step down and stock
15. Run your tool path to see if it is following the correct tool path
16. Save the file to your flash drive
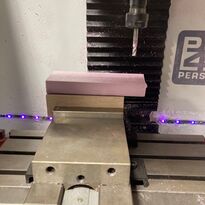
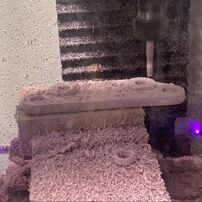
17. Take a piece of double sided tape, stick it to the back of your foam, place your foam on the wood with one side in line with the edge of the wood
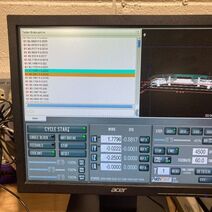
18. Open your file in the computer, press g code, then click on your file to open it
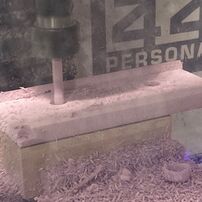
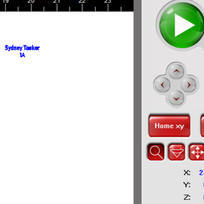
19. Move the tool to the front corner of the foam, reset all the planes on the computer, then begin the machine
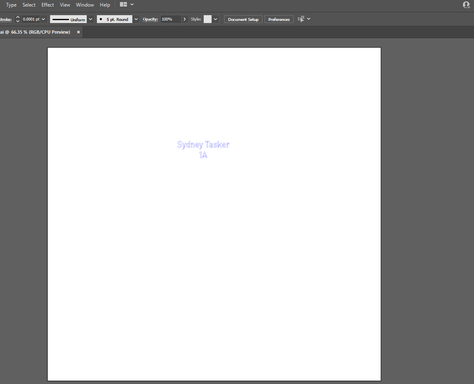
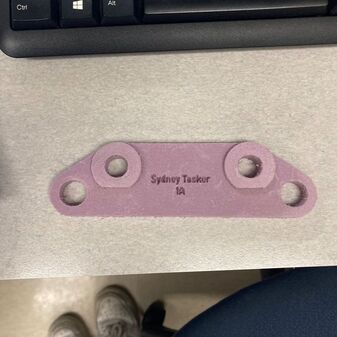
20. Create your name in Illustrator by adjusting the colour and stroke, save to flash drive
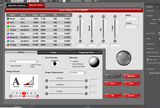
21. Open document in laser, adjust setting such as the colour, power, speed.
22. Line up laser with brake bracket, press start, once laser has cut out your name it is done
2. Draw four circles in the rectangle, dimension and position them correctly
3. Inside the bigger circles, dimension the smaller circles, these are the ones that will be cut out when it's extruded
3. Draw two lines diagonally so the lines go across the side of the bigger circles, this creates the trapezoid shape
4. Use the trim tool and trim all the extra parts of the lines you don't need to end up with the shape for the brake bracket (for my brake bracket I had to trim parts of the bigger circles so the correct part of the shape would be extruded)
5. Extrude the shape
6. Create a new sketch and draw two circles around the two top circles, set them to the right dimensions
7. Draw a line across the two circles and dimension it so it is in the correct spot
8. Extrude the two new circles
9. Upload file to Fusion360
10. Choose 3D tool path
11. Input height, width and thickness
12. Choose the tool you're going to use
13. Input the speed of the tool
14. Adjust the rough step down and stock
15. Run your tool path to see if it is following the correct tool path
16. Save the file to your flash drive
17. Take a piece of double sided tape, stick it to the back of your foam, place your foam on the wood with one side in line with the edge of the wood
18. Open your file in the computer, press g code, then click on your file to open it
19. Move the tool to the front corner of the foam, reset all the planes on the computer, then begin the machine
20. Create your name in Illustrator by adjusting the colour and stroke, save to flash drive
21. Open document in laser, adjust setting such as the colour, power, speed.
22. Line up laser with brake bracket, press start, once laser has cut out your name it is done
|
|
|
|

|
|
|
|
|
|
|
|
|
|

|
Final Project
Summary
I learnt how to use Fusion360 and a new kind of machine. I learnt how there are different tool paths you can use to get the same outcome for Fusion, and how the machine actually takes the instructions and uses the tool path to cut out the object. I learnt how to control the Mill with the X, Y and Z remote and how the computer works when the machine is going. This was the first project where I used more than one machine because I used the mill and the laser.
