What is Illustrator?
Illustrator is a software program that allows you to make designs and graphic illustrations using different shapes and tools. It has certain controls where you can turn you design into vectors so it can be put into another program and cut out and so machines can read where to cut your design. Illustrator also allows you to move your file to other software for other use. In this unit, we sent our designs to UCP and Cutting Master 2 so we could cut out our Illustrator designs with the vinyl cutter and laser cutter.
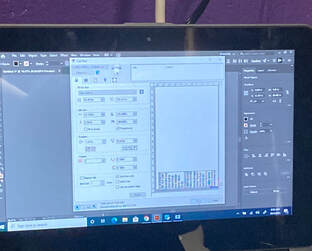
Illustrator and Vinyl Cutter
|
This is the file on the computer that will be read by the vinyl cutter to cut out our decal. It has all the adjustments and settings made and the vinyl cutter cut out each of our names.
|
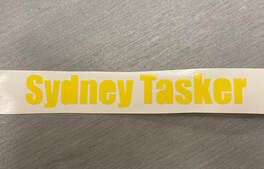
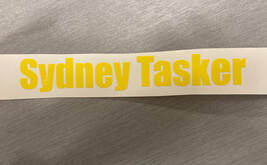
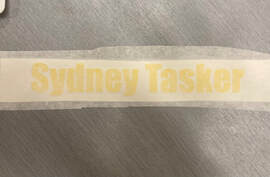
Steps to Applying a Vinyl Decal


|
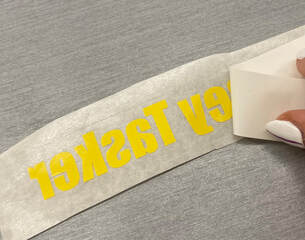
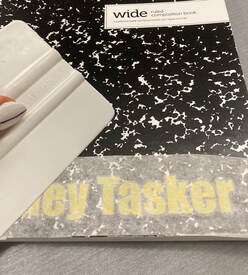
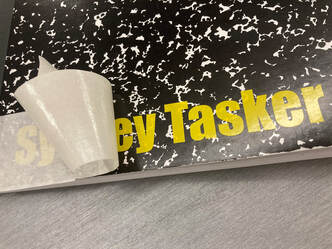
1. Peel off the vinyl around your decal so you have just your decal on the plastic back.
(This is what your decal should look like when you've taken off the vinyl background around your decal) 2. Remove all the centers of letters that are supposed to have a gap (for example, in mine was D, E, and A), they will not come off with the rest of the background as they aren't connected to it. 3. Place a row of transfer tape over your decal (Side note: Your decal is transferrable like this as there are no sticky sides visible) 4. Take a squeegee and go over the tape, make sure you apply pressure so the tape sticks to the decal. 5. Flip your decal upside down so the glossy plastic side is facing you, then carefully peel it off the decal. If some of the letters still stick to it, use the dental tool to carefully pull down the letters onto the transfer tape. 6. Stick your decal down to the surface you are putting it on, and press down on it. Use the squeegee to push your decal onto the surface, rub it over and over so it has completely stuck down. 7. Peel off the transfer tape and your decal is laid down completely. |
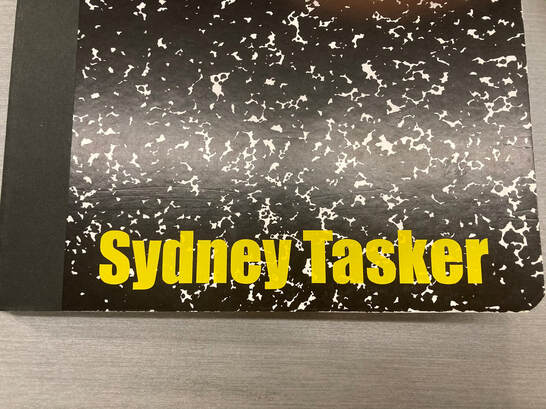
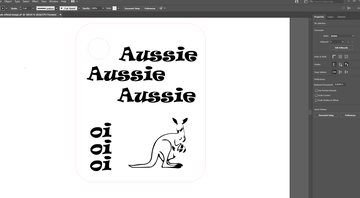
The Final Design
Illustrator and Laser Cutter
|
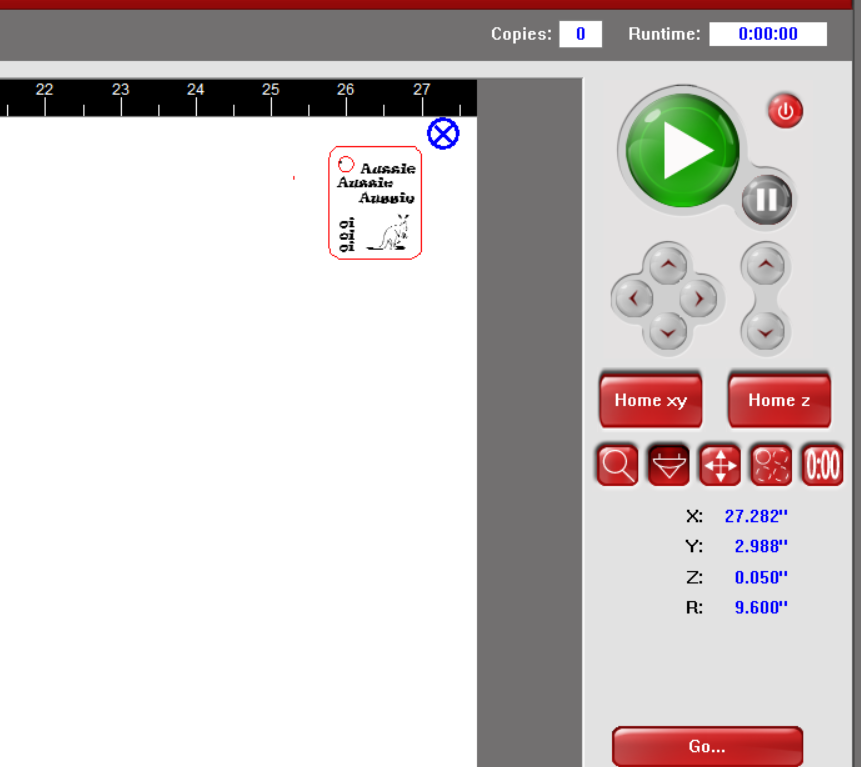
This is the final design file for my keychain in Illustrator.
|
Steps to Using the Laser Cutter
|
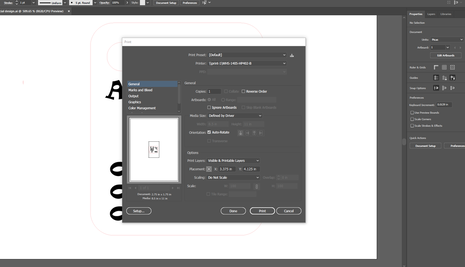
1. Open Illustrator and open your file with your design.
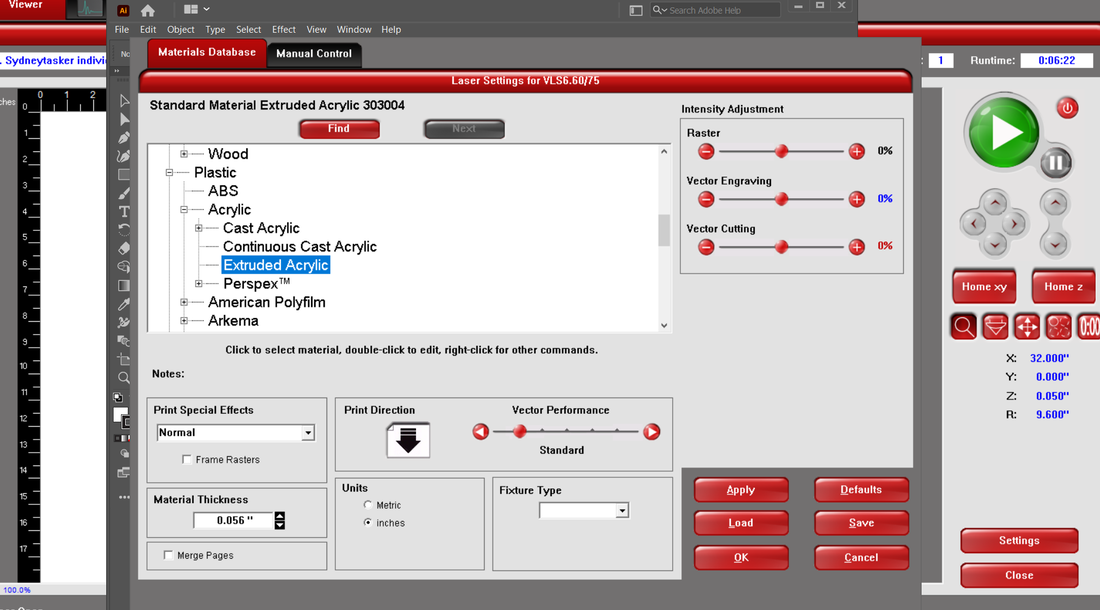
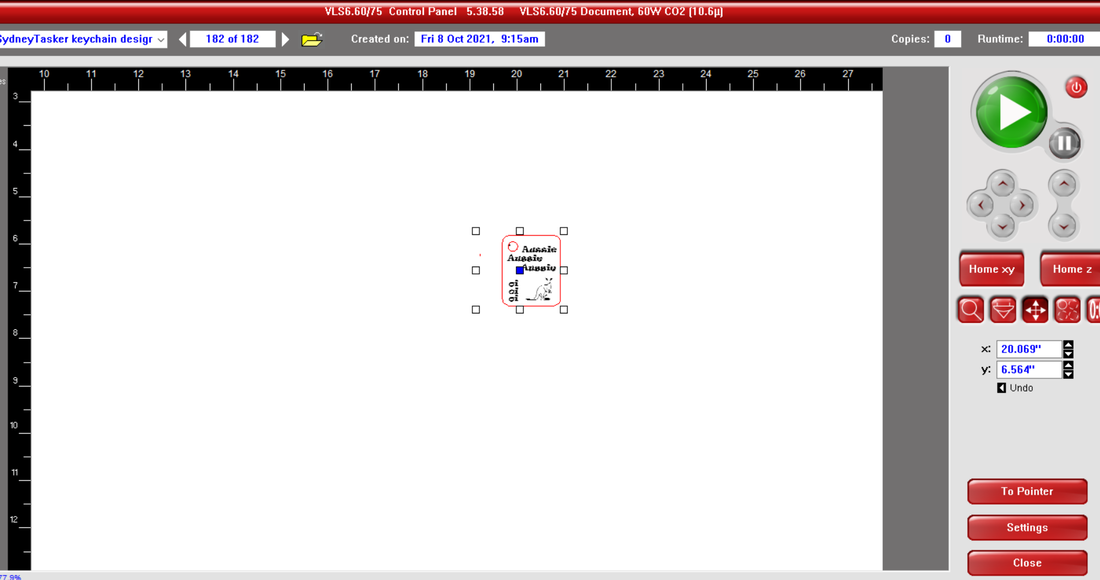
2. Click File, go to print, and this will be your screen after these two steps. 3. Click the Setup button in the bottom left corner, then on the next screen, click preferences. 4. This screen should show up. Make sure to adjust the material thickness to what your material's thickness is, and what material you are cutting your design from (in this case, extruded acrylic), then click ok. 5. Open the UCP software, (this is what connects to the laser), and your design should be in the middle of your screen. 6. Click on the four arrows tool and move your design to the corner of the screen, then click the upside down triangle button, (this allows you to move the laser), and move the laser to the corner of your design, to double check your design fits on the material, click on the top of your design, then on the bottom. If it doesn't go off your material, it will fit. Put it back in the corner of your design, then click the big green button and the laser will start to cut out your design. |
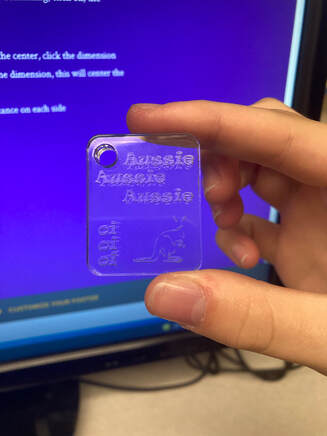
The Final Design
Summary
For my Illustrator projects, I've learnt how to use Illustrator and all its tools, as well as how to use two different kinds of machinery, the laser cutter, and the vinyl cutter. I think with this unit I've also learnt how to read instructions more carefully because otherwise I could mess something up with the machine or software, and I've learnt to take my time when doing my projects. I'm really happy with the way my projects have turned out and the more I use Illustrator and each other machines, the easier they are to use and the quicker the process of making my projects will go without me messing them up. I think these were great ways to introduce Illustrator, and how to use the vinyl cutter and laser cutter. Illustrator is very cool and I think it's amazing how the machines can read the design.
