Digital Files
|
|
Maze Creation
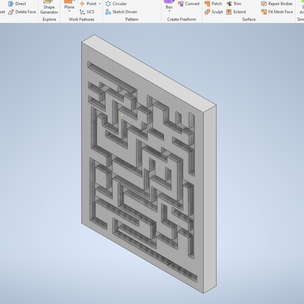
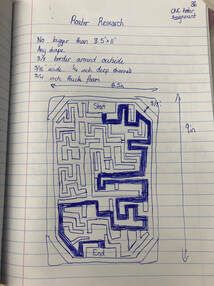
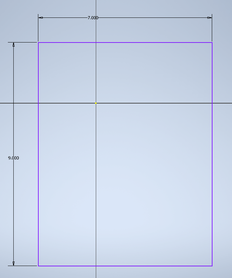
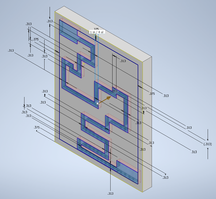
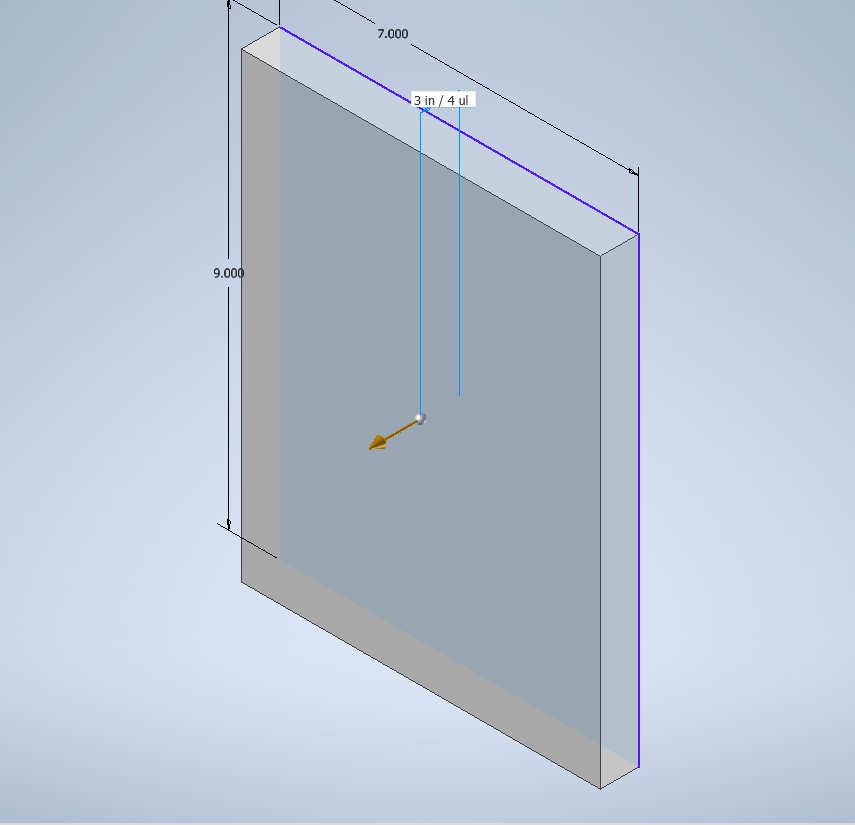
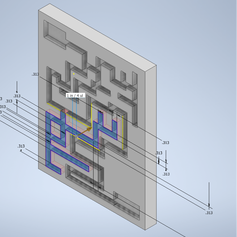
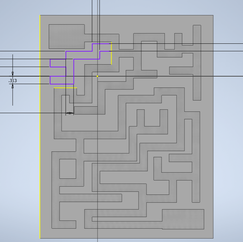
1. Draw a rectangle in Inventor, dimension and extrude
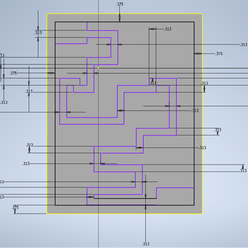
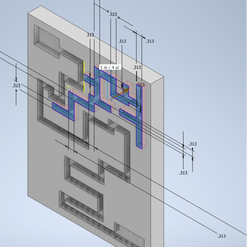
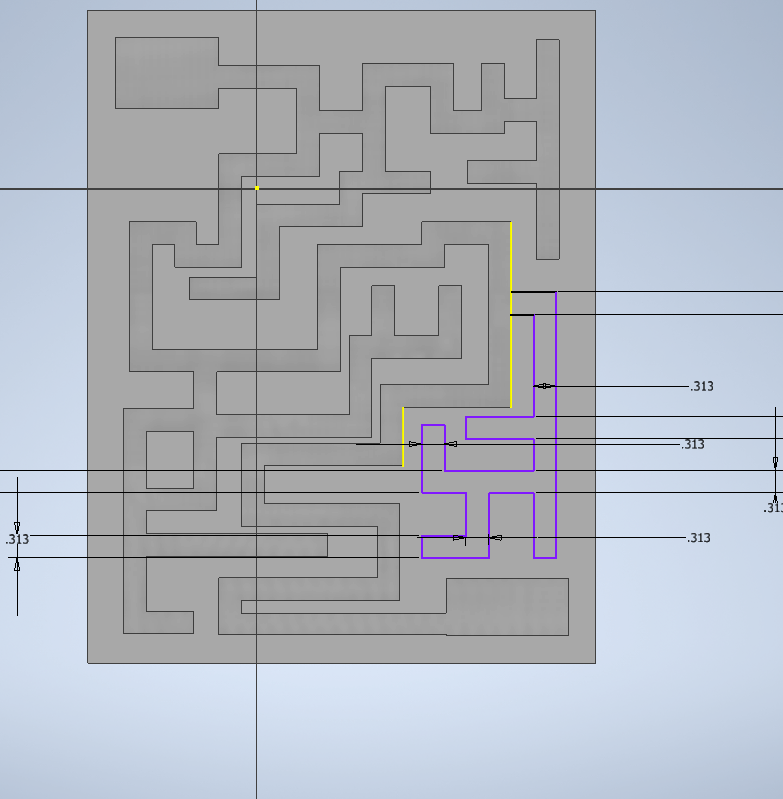
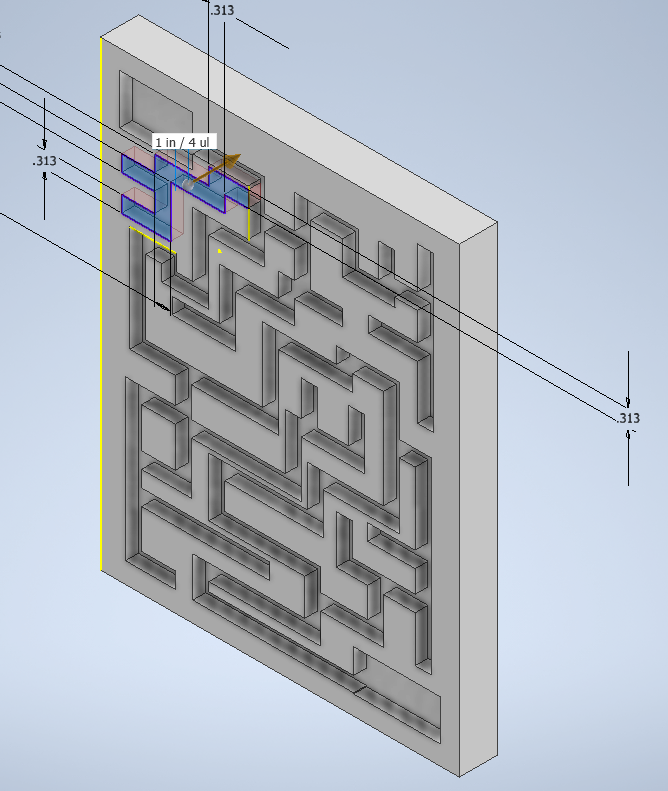
2. Draw pathways with line tool, dimension and extrude them downwards
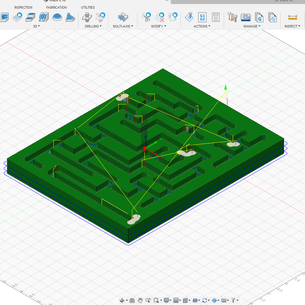
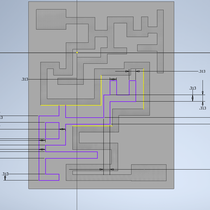
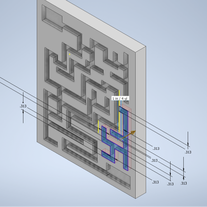
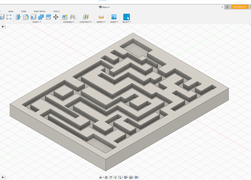
3. Open Fusion, upload Maze to Fusion
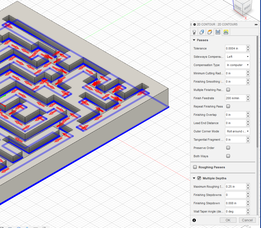
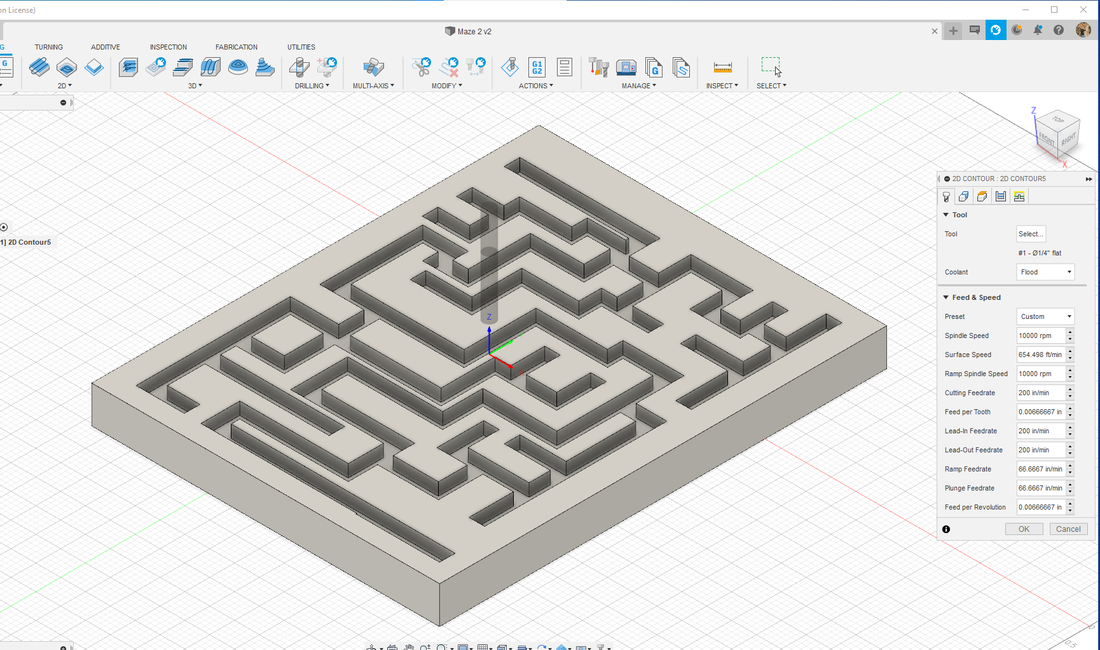
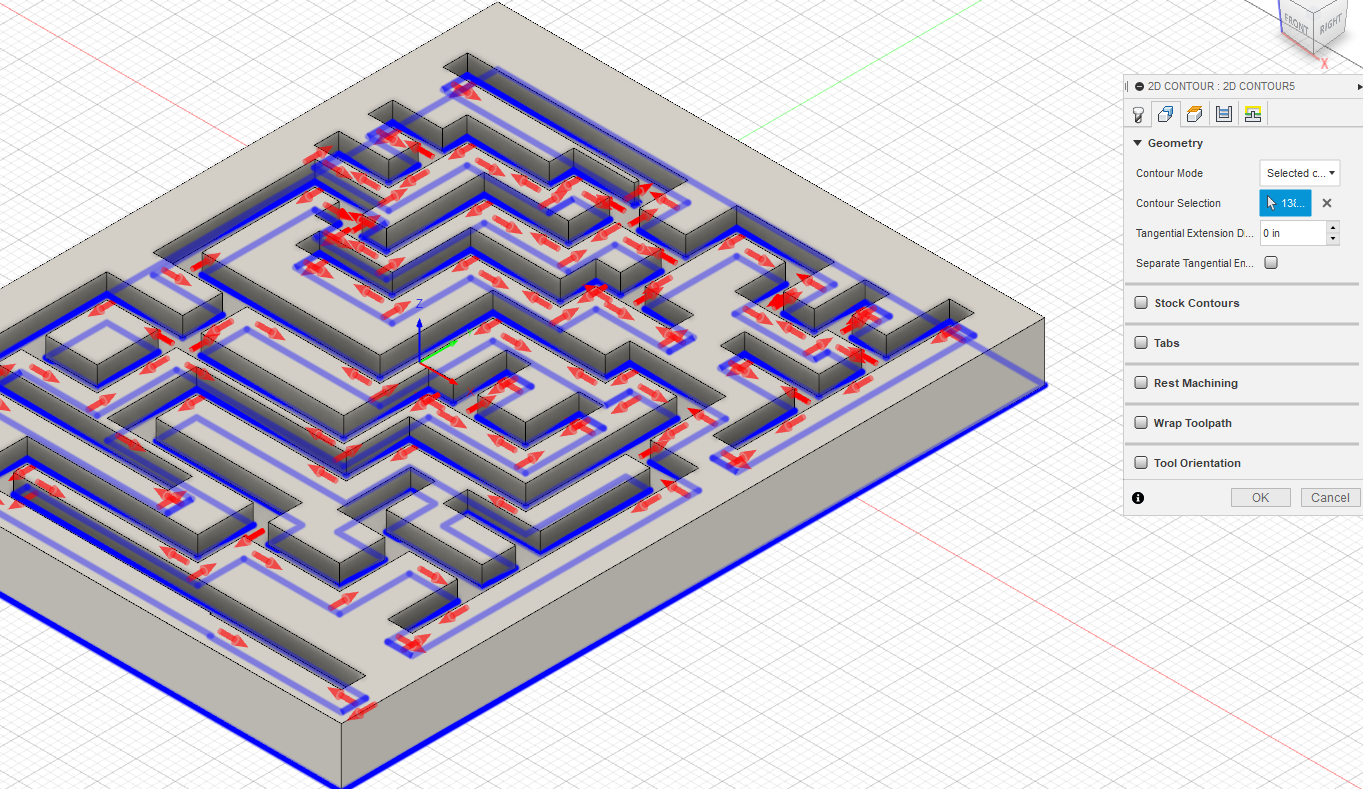
4. Choose tool path
5. Change measurement to inches, input dimensions, tool, speed, stepdown and stock
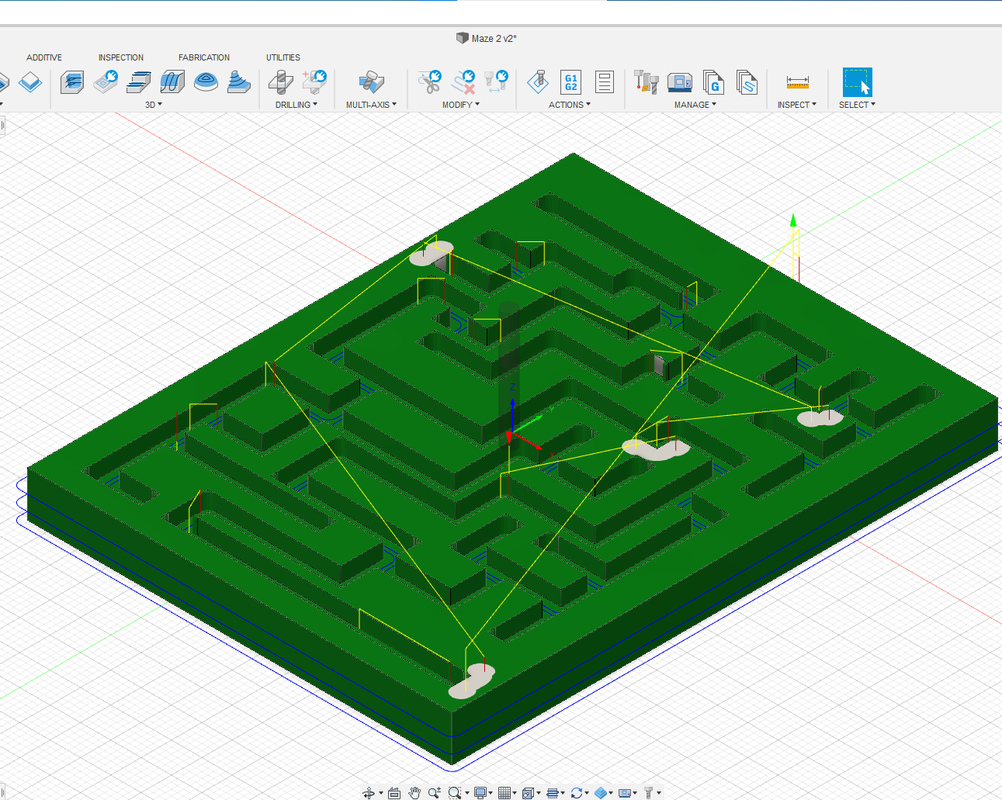
6. Run tool path to make sure it has run in all the right places
7. Save toolpath to drive
8. Measure the width and length of foam to find the center, mark center with a dot
9. Place double sided tape on back of foam piece and stick down to wood
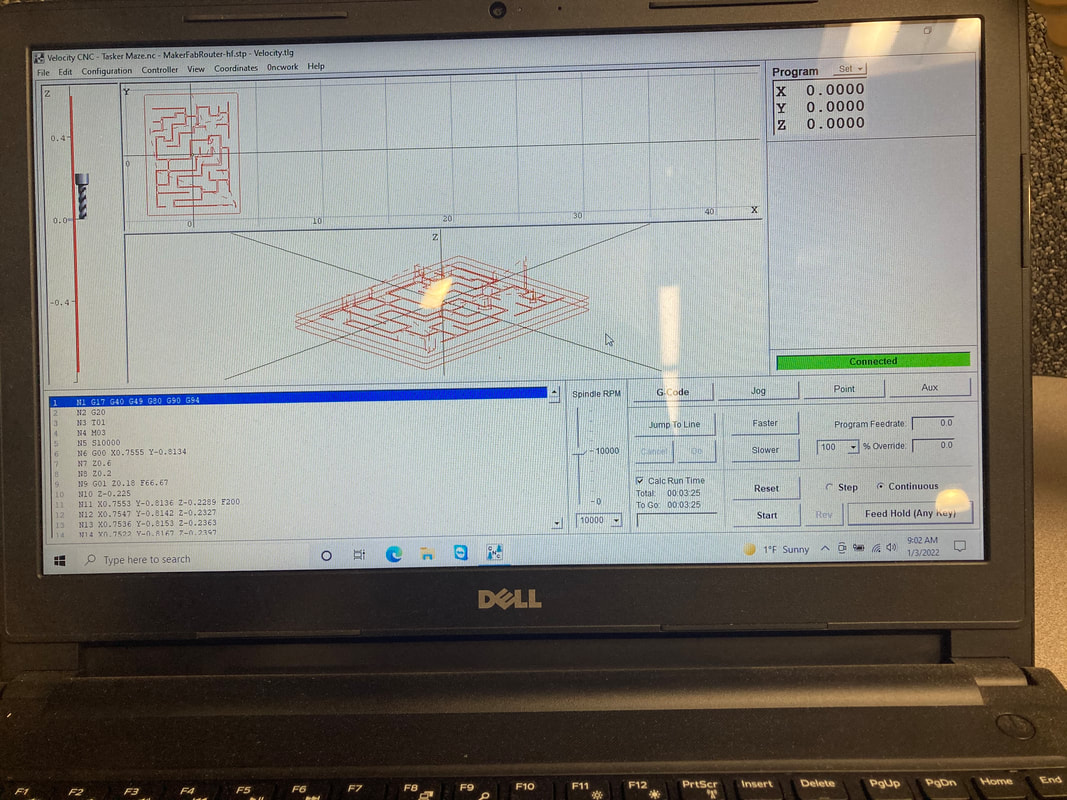
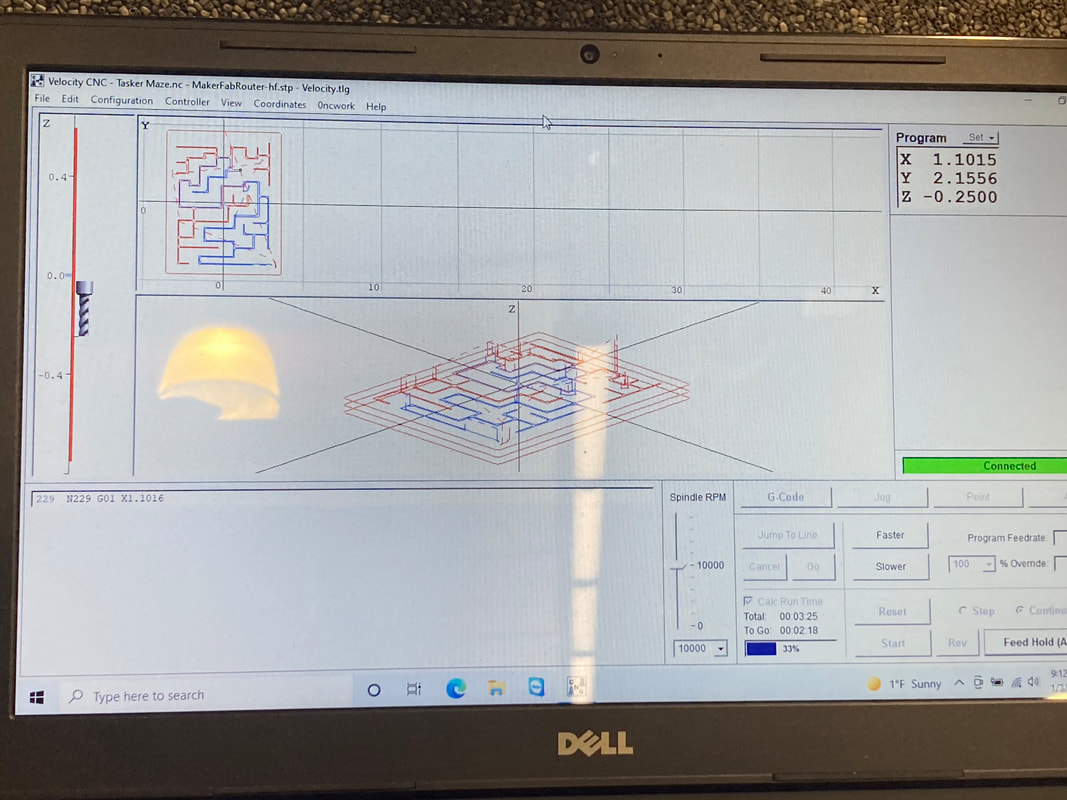
10. Open G-code file on computer
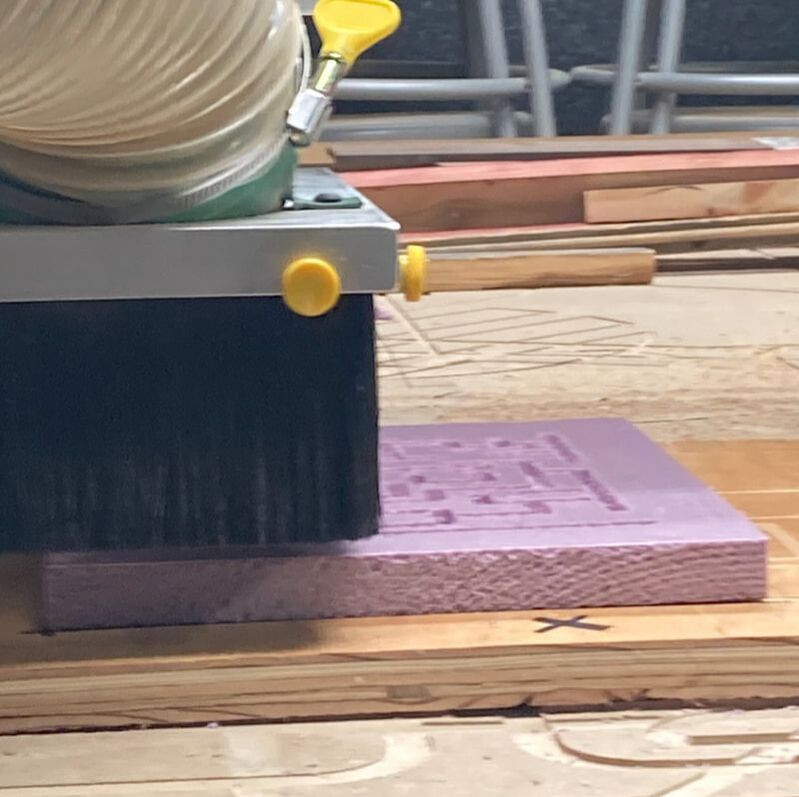
11. Use jog to position tool over center then lower down until it is barely touching the foam
12. Zero all dimensions, then press start
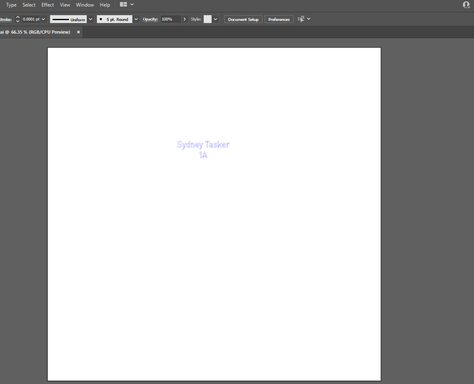
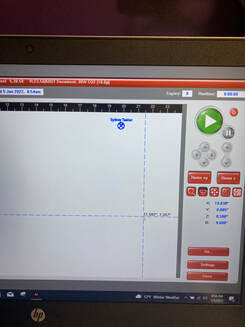
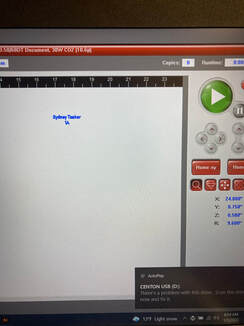
13. Create a file in Illustrator, type in name, make the stroke 0.0001 pt, change outline to blue, then turn letters into vectors
14. Set blue vector in preferences to 14% power and 100% speed, put material as tool foam
15. Move laser to space on the foam, making sure your name can fit on the foam
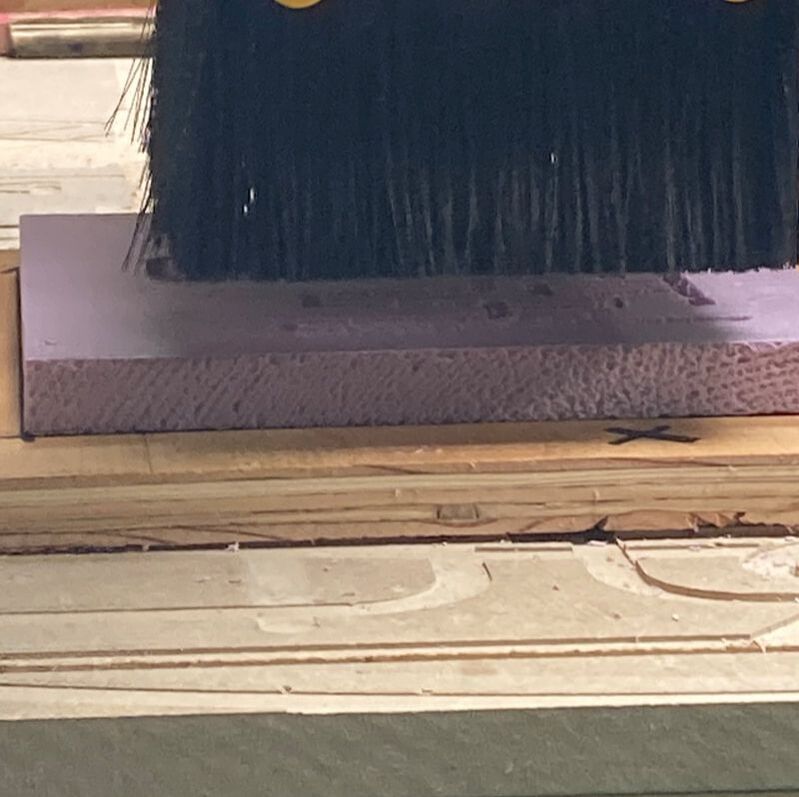
16. click go, then once the laser is finished you have the finished maze
2. Draw pathways with line tool, dimension and extrude them downwards
3. Open Fusion, upload Maze to Fusion
4. Choose tool path
5. Change measurement to inches, input dimensions, tool, speed, stepdown and stock
6. Run tool path to make sure it has run in all the right places
7. Save toolpath to drive
8. Measure the width and length of foam to find the center, mark center with a dot
9. Place double sided tape on back of foam piece and stick down to wood
10. Open G-code file on computer
11. Use jog to position tool over center then lower down until it is barely touching the foam
12. Zero all dimensions, then press start
13. Create a file in Illustrator, type in name, make the stroke 0.0001 pt, change outline to blue, then turn letters into vectors
14. Set blue vector in preferences to 14% power and 100% speed, put material as tool foam
15. Move laser to space on the foam, making sure your name can fit on the foam
16. click go, then once the laser is finished you have the finished maze
|
|

|
|
|
|
|

|
|
|
|
|
|
|

|
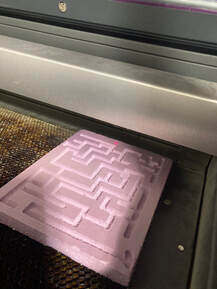
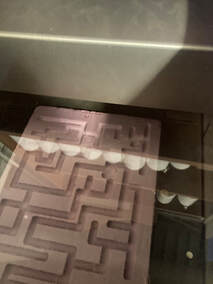
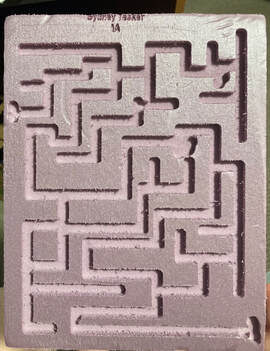
Final Maze
Summary
In this rotation, I learnt how to use the router and how to use the 2D setting on Fusion. I learnt how to use the controls for the router and how to once again set up everything in Fusion. It's good to know how to use the router because it can cut out of bigger materials that the mill can't get through or the material can't fit inside the mill.
