Sketches of Designs
Notepad Design
|
Water Bottle Design
|

3D Object Design
|
|
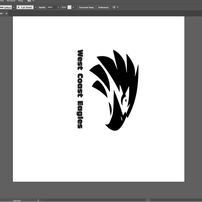
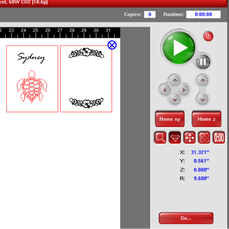
Digital Files of Projects

|
|

|
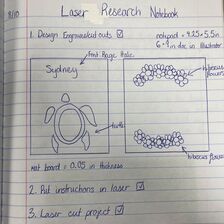
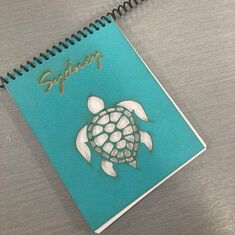
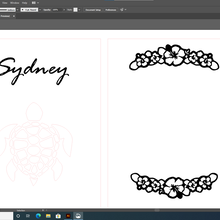
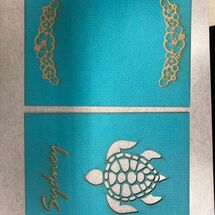
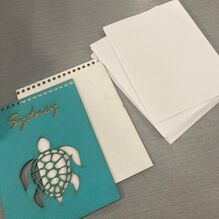
Notebook Creation
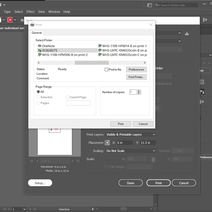
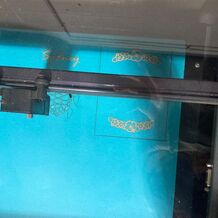
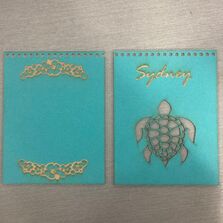
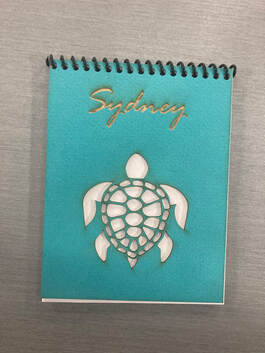
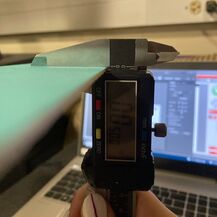
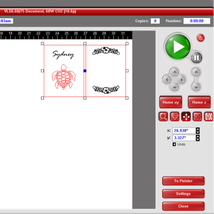
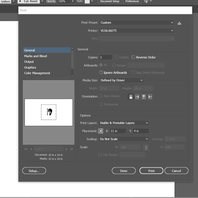
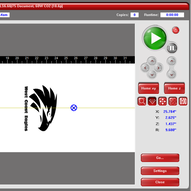
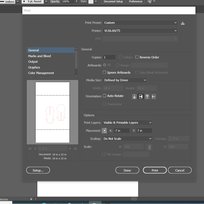
The first step was to design my notebook, and choose what I wanted cut out, and what I was going to engrave. I wanted a beach or tropical theme for the notebook so I looked at things like palm trees, hibiscus flowers, sea life, surfboards etc. I settled on a turtle for the front cover, and hibiscus flowers on the back. I wanted to engrave my name on the front, cut out the turtle, and engrave the hibiscus flowers. Once I knew what I wanted to do, I put my design into Illustrator. I drew two rectangles on the page, this was going to be the actual pages of the front and back pages. I turned the lines into thin red lines so the laser could read I wanted them cut out later on. I first typed my name, chose a font, and turned the letters into vectors so the laser would engrave my name, not cut it out. I moved to the turtle and chose a black and white photo from the internet, and dragged it into my Illustrator file. I clicked image trace, turn the turtle to black and white logo, pressed the expand control, and the photo was turned to black and white. I then made the lines of the turtle very thin and red so the laser cutter knew to cut out the turtle. Once I was done with my design, I took it to the laser and set up the file in Illustrator on the laser computer. I measured the thickness of my matboard with the caliper so I knew what to put in as the material thickness. I set up all my preferences such as the chosen material, and material thickness. Once I was done the document with all the justifications was sent to UCP where I could move my design around and move the laser to where it had to cut. I started the laser and it cut out/engraved my design and I had my front and back cover for my notebook. I then cut all the paper for the pages of my notebook, hole punched the top of everything, stacked them together, and weaved the wire for the top of the notebook through, and it was complete.


|
|
|
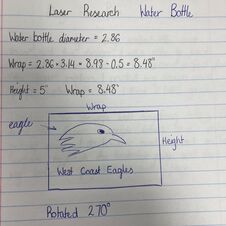
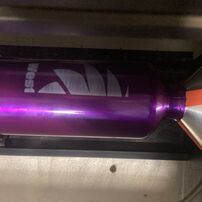
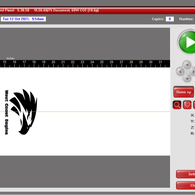
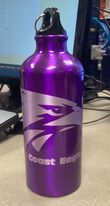
Water Bottle Creation
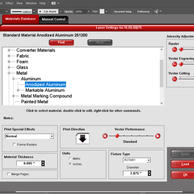
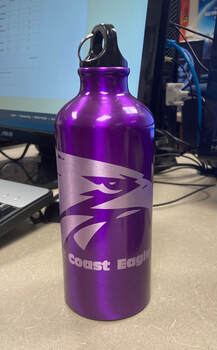
For this project, I wanted my design to be the logo of one of my favourite sports teams, so I chose the West Coast Eagles logo, this is the football team for WA. This time I didn't need to make pages for my design, so I made the Illustrator document the same size as the wrap of the water bottle. I was only engraving during this project, so I didn't have to make any thin red lines. I chose a black and white photo of the logo and put it in my file. I clicked image trace, made sure the logo was black and white, and expanded it so it was now vectors. I put the name West Coast Eagles on the bottle in a big font underneath the logo, and gave it outlines so it was turned into vectors. I rotated the design 270 degrees as I was printing on the side of a water bottle, not up and down. I took my design to the laser, but I didn't need to worry about the material thickness because I wasn't cutting through all the way, and there was a set thickness. I wasn't printing on the normal laser floor, so I had to use a rotary to hold the water bottle so it would rotate for the laser and so it could print. I put in all the preferences such as the material, which was aluminium, the material thickness, etc. I also had to set the laser to know I was using the rotary. The computer moved my file to UCP and I set up the position of the laser so it would engrave on my bottle, and I started the laser. It engraved the water bottle and my second laser project was complete.

|

|
|
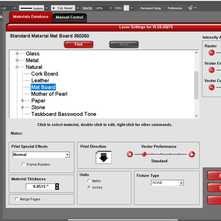
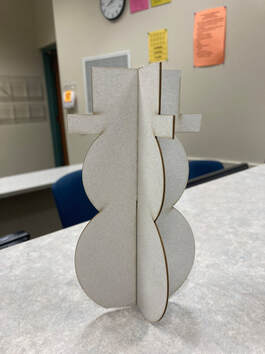
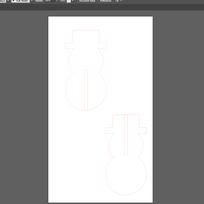
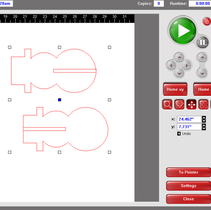
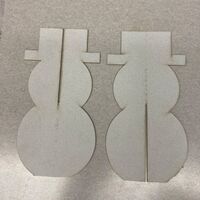
3D Object Creation
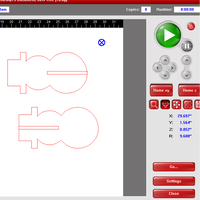
For this project, I wanted something that represented a holiday, but something that would stand up on a shelf well without too many pieces, so I decided to go with a snowman. I designed the snowman in my designer notebook, writing down measurements (I did end up changing a couple of the measurements as my original was too large for the mat board I had) and figuring out how wide the slits in the snowman would have to be in order to fit the pieces together without the snowman falling over. I used the thickness of the material to determine how wide the slits would need to be. I made the lines red and thin, as I was cutting my pieces out, not engraving. Once I finished the design in Illustrator, I took my design to the laser computer and set up all the preferences, such as material thickness, and the material I was using. I adjusted where I wanted my designed cut out, and where I wanted the laser to print on the mat board, and began the laser. It cut out my project and I trimmed the bottom flat so the snowman would be able to stand on a flat surface.


|

|
|
Final Creations

Notebook
|
Water Bottle
|

3D Object
|
Summary
Ultimately, I had a lot of fun with this rotation, as I was able to create different objects and putting designs that I like on them. I had a great time coming up with something very different for each design, and I greatly improved my skills using the laser cutter. I never had to look at the instructions on how to use it or make adjustments, and I became quicker at using it with each project. I got to work with different materials for the projects and learnt how to use a calibrating tool to determine the thickness of a material. I used different bottoms to the laser machine, such as the usual bottom, and the rotary, assisted others when they needed some help. I learnt how to manage my projects in a time efficient way, as this is the only rotation with multiple projects. All of the items we made in this rotation I intend to use as well, so the projects are going to be helpful to me as well.
